本文使用的 linux 发行版为 debian 12,不同发行版的操作可能有所不同。
1、安装redis服务器
使用命令:
sudo apt install redis -y安装redis服务器,安装完成后默认运行。
2、安装 redis object cache 插件
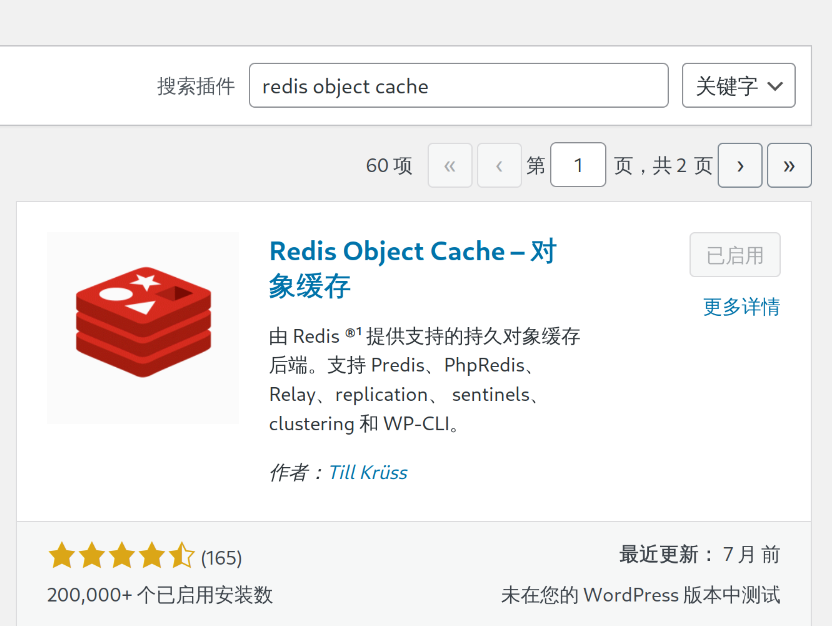
进入 wordpress 站点管理后台,在 “添加插件” 中搜索 “redis object cache”,安装对应插件。如图所示:
3、配置wp-config.php
使用 ssh 连接上 vps,切换到 wordpress 的安装目录,如 /var/www/worepress
编辑 wp-config.php 文件,找到 define( 'DB_COLLATE', '') ; 在 define( 'DB_COLLATE', ''); 后添加如下内容:
/** Redis Object Cache */
// adjust Redis host and port if necessary
define( 'WP_REDIS_CLIENT', 'predis' );
define( 'WP_REDIS_HOST', '127.0.0.1' );
define( 'WP_REDIS_PORT', 6379 );

// change the prefix and database for each site to avoid cache data collisions
define( 'WP_REDIS_DATABASE', 0 ); // 0-15

// reasonable connection and read+write timeouts
define( 'WP_REDIS_TIMEOUT', 2 );
define( 'WP_REDIS_READ_TIMEOUT', 3 );
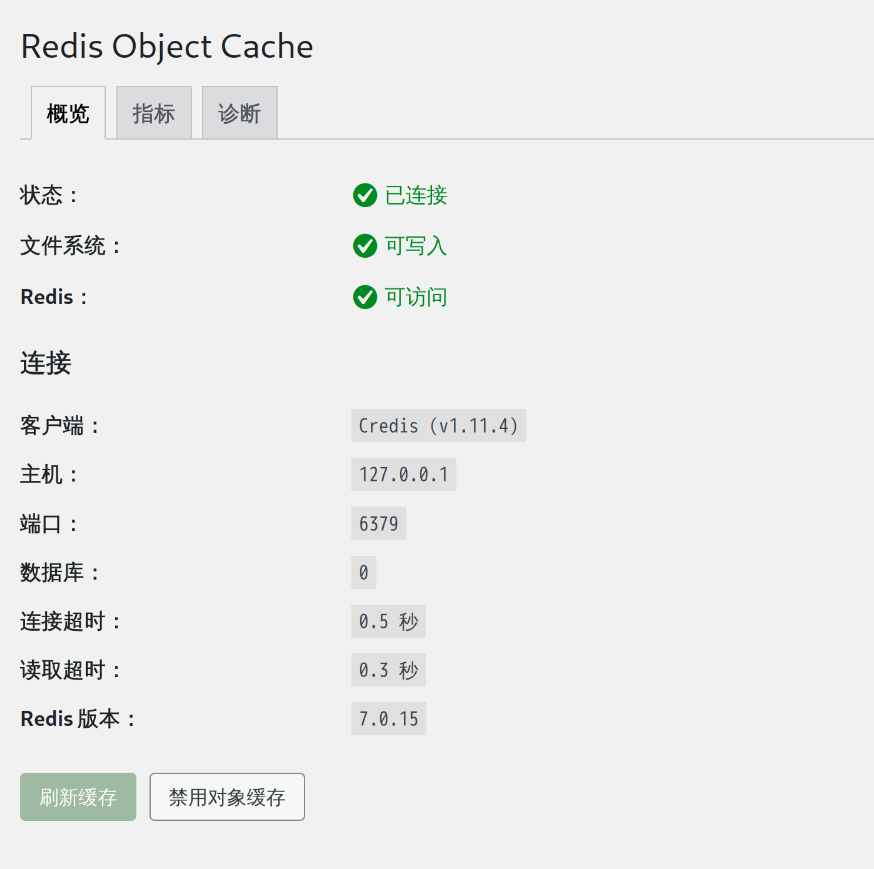
保存退出后,在插件设置中启用对象缓存,成功后如图所示:
*提示:如果启用后网站提示520等类似的错误,可尝试重启apache2服务器(使用apache2服务器处理php的话)或 php-fpm ,完成后刷新。如果重启后错误仍然存在,可删除 wp-content/ 目录下的 object-cache.php 文件后刷新。

文章评论